Apple Pie Bars
It’s the most wonderful tiiiiiiiiiiime of the yeeeeaaaaarr!!! No, not Christmas, although I do love the holiday season (and can’t seem to escape the preemptive Christmas decorations EVERYWHERE) but I’m talking about fall! You know it’s my absolute favorite time of the year, and this year has been no different. Say what you want about New York weather being fickle, but I’ve enjoyed having a mix of warm days and chill, crisp air days. Even the warmer days have allowed for my baking to go crazy because I’m no longer sweating it out in my apartment!
I posted about my bacon fat gingersnaps earlier this fall, also about my vanilla cupcakes that are so popular and delicious, and now it’s time to post about my amazing apple pie bars. Apple pie bars, you say? Does that mean like, an apple pie in bar form? That I can hold in my hand and deliver directly to my mouth?? YES. That is exactly what I mean.

I developed this recipe as I was fiddling around with ice cream sandwich ideas for my featured dessert spot at The Queens Kickshaw. I tried a few ice cream pairings that I didn’t love until I put together one made from my almond sugar cookies and apple pie ice cream that I made by blending apple pie filling and vanilla ice cream together. My mother had made a similar apple pie dessert in non-pie form that day, which got me thinking about how to get an apple pie that you can hold in your hand that doesn’t come from McDonald’s or 7-11. The ice cream sandwich was killing it at being delicious, but I wanted to be able to pick up a piece of pie. The almond sugar cookie mixed well with the apple pie flavor, so I thought I’d go in that direction instead of a traditional pie crust. I settled on a shortbread bottom and crumb topping with all that cinnamony goodness in the middle and have never looked back!
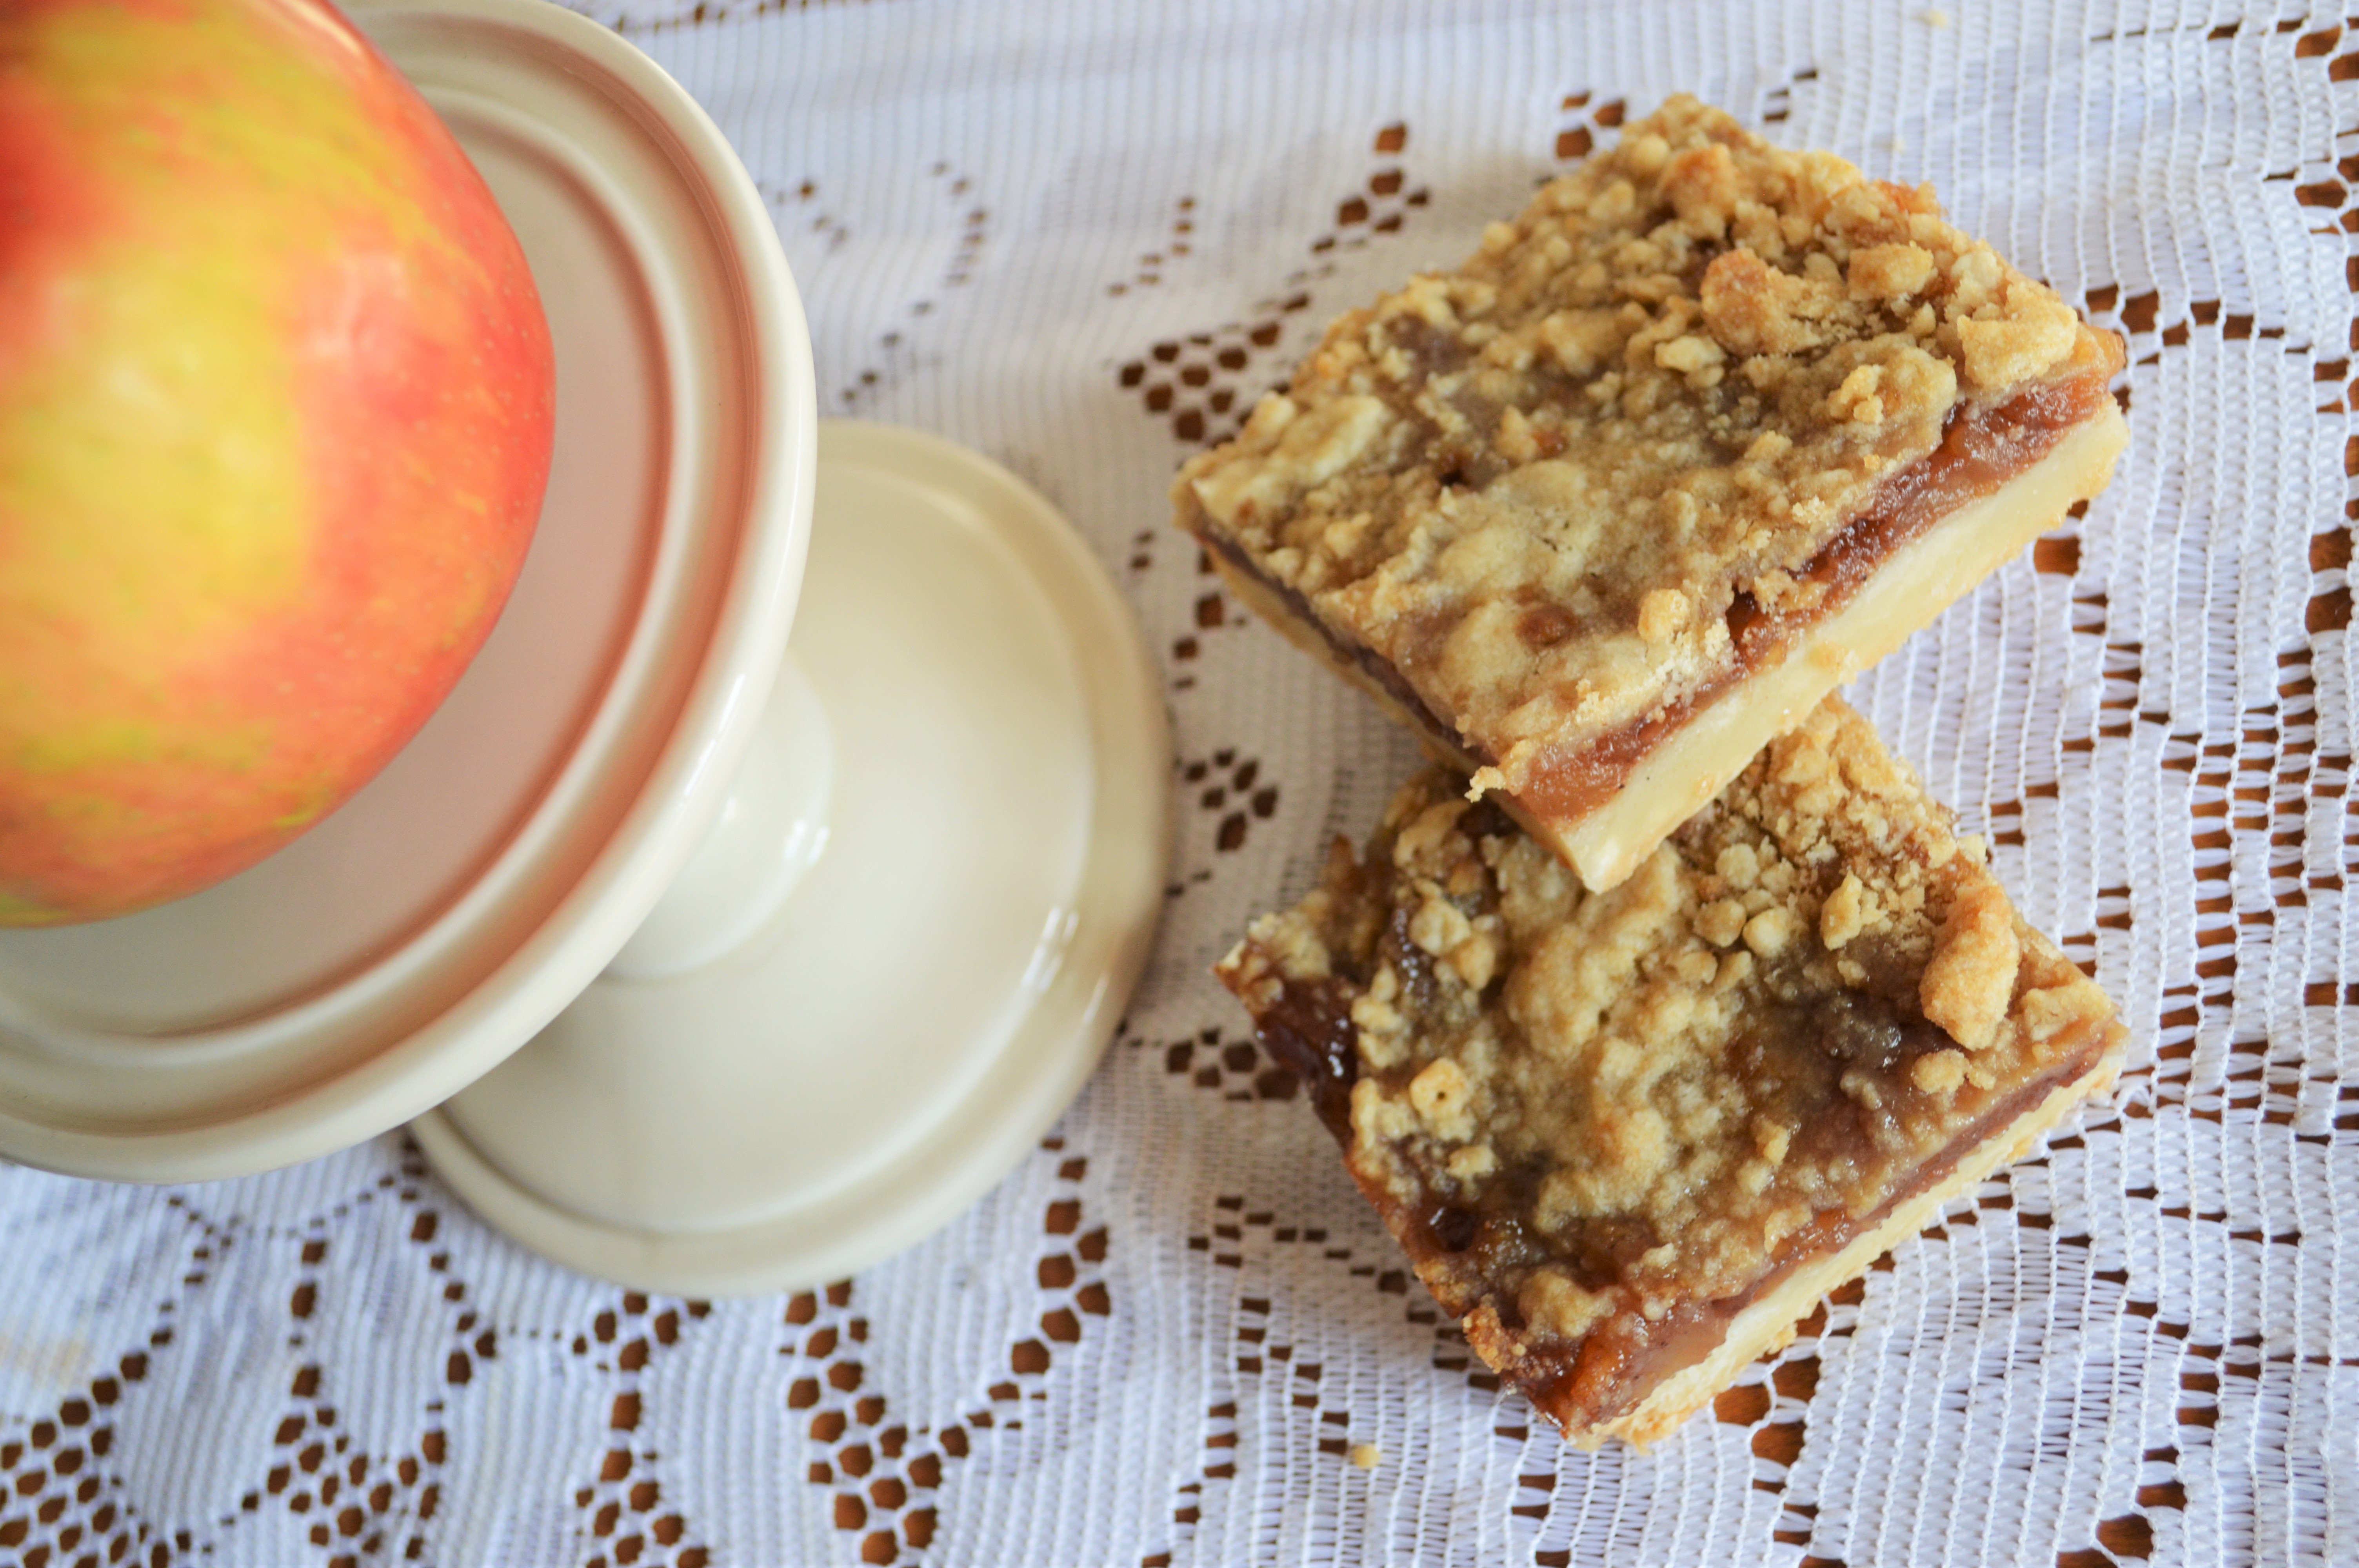
I’ve now made these three times in less than 14 days and every person I have shared them with has declared them amazing. When you get 36 little squares out of every batch, that’s a lot of people! I guarantee these will wow your guests or hosts at the next party you attend this holiday season, and will quickly become your favorite go-to dessert.
Apple Pie Bars
Ingredients for Filling:
5 pounds of apples *I like using honeycrisp
1 cup of sugar
2 tsp cinnamon
1 tsp cornstarch
2 to 3 tbsp water of apple cider
squeeze of lemon
Extras: Dashes of ginger/nutmeg/cloves/all spice. If you’ve got’em, throw’em in, if that’s what you like. Or if you have a recipe for filling that you like for your apple pies, use that.
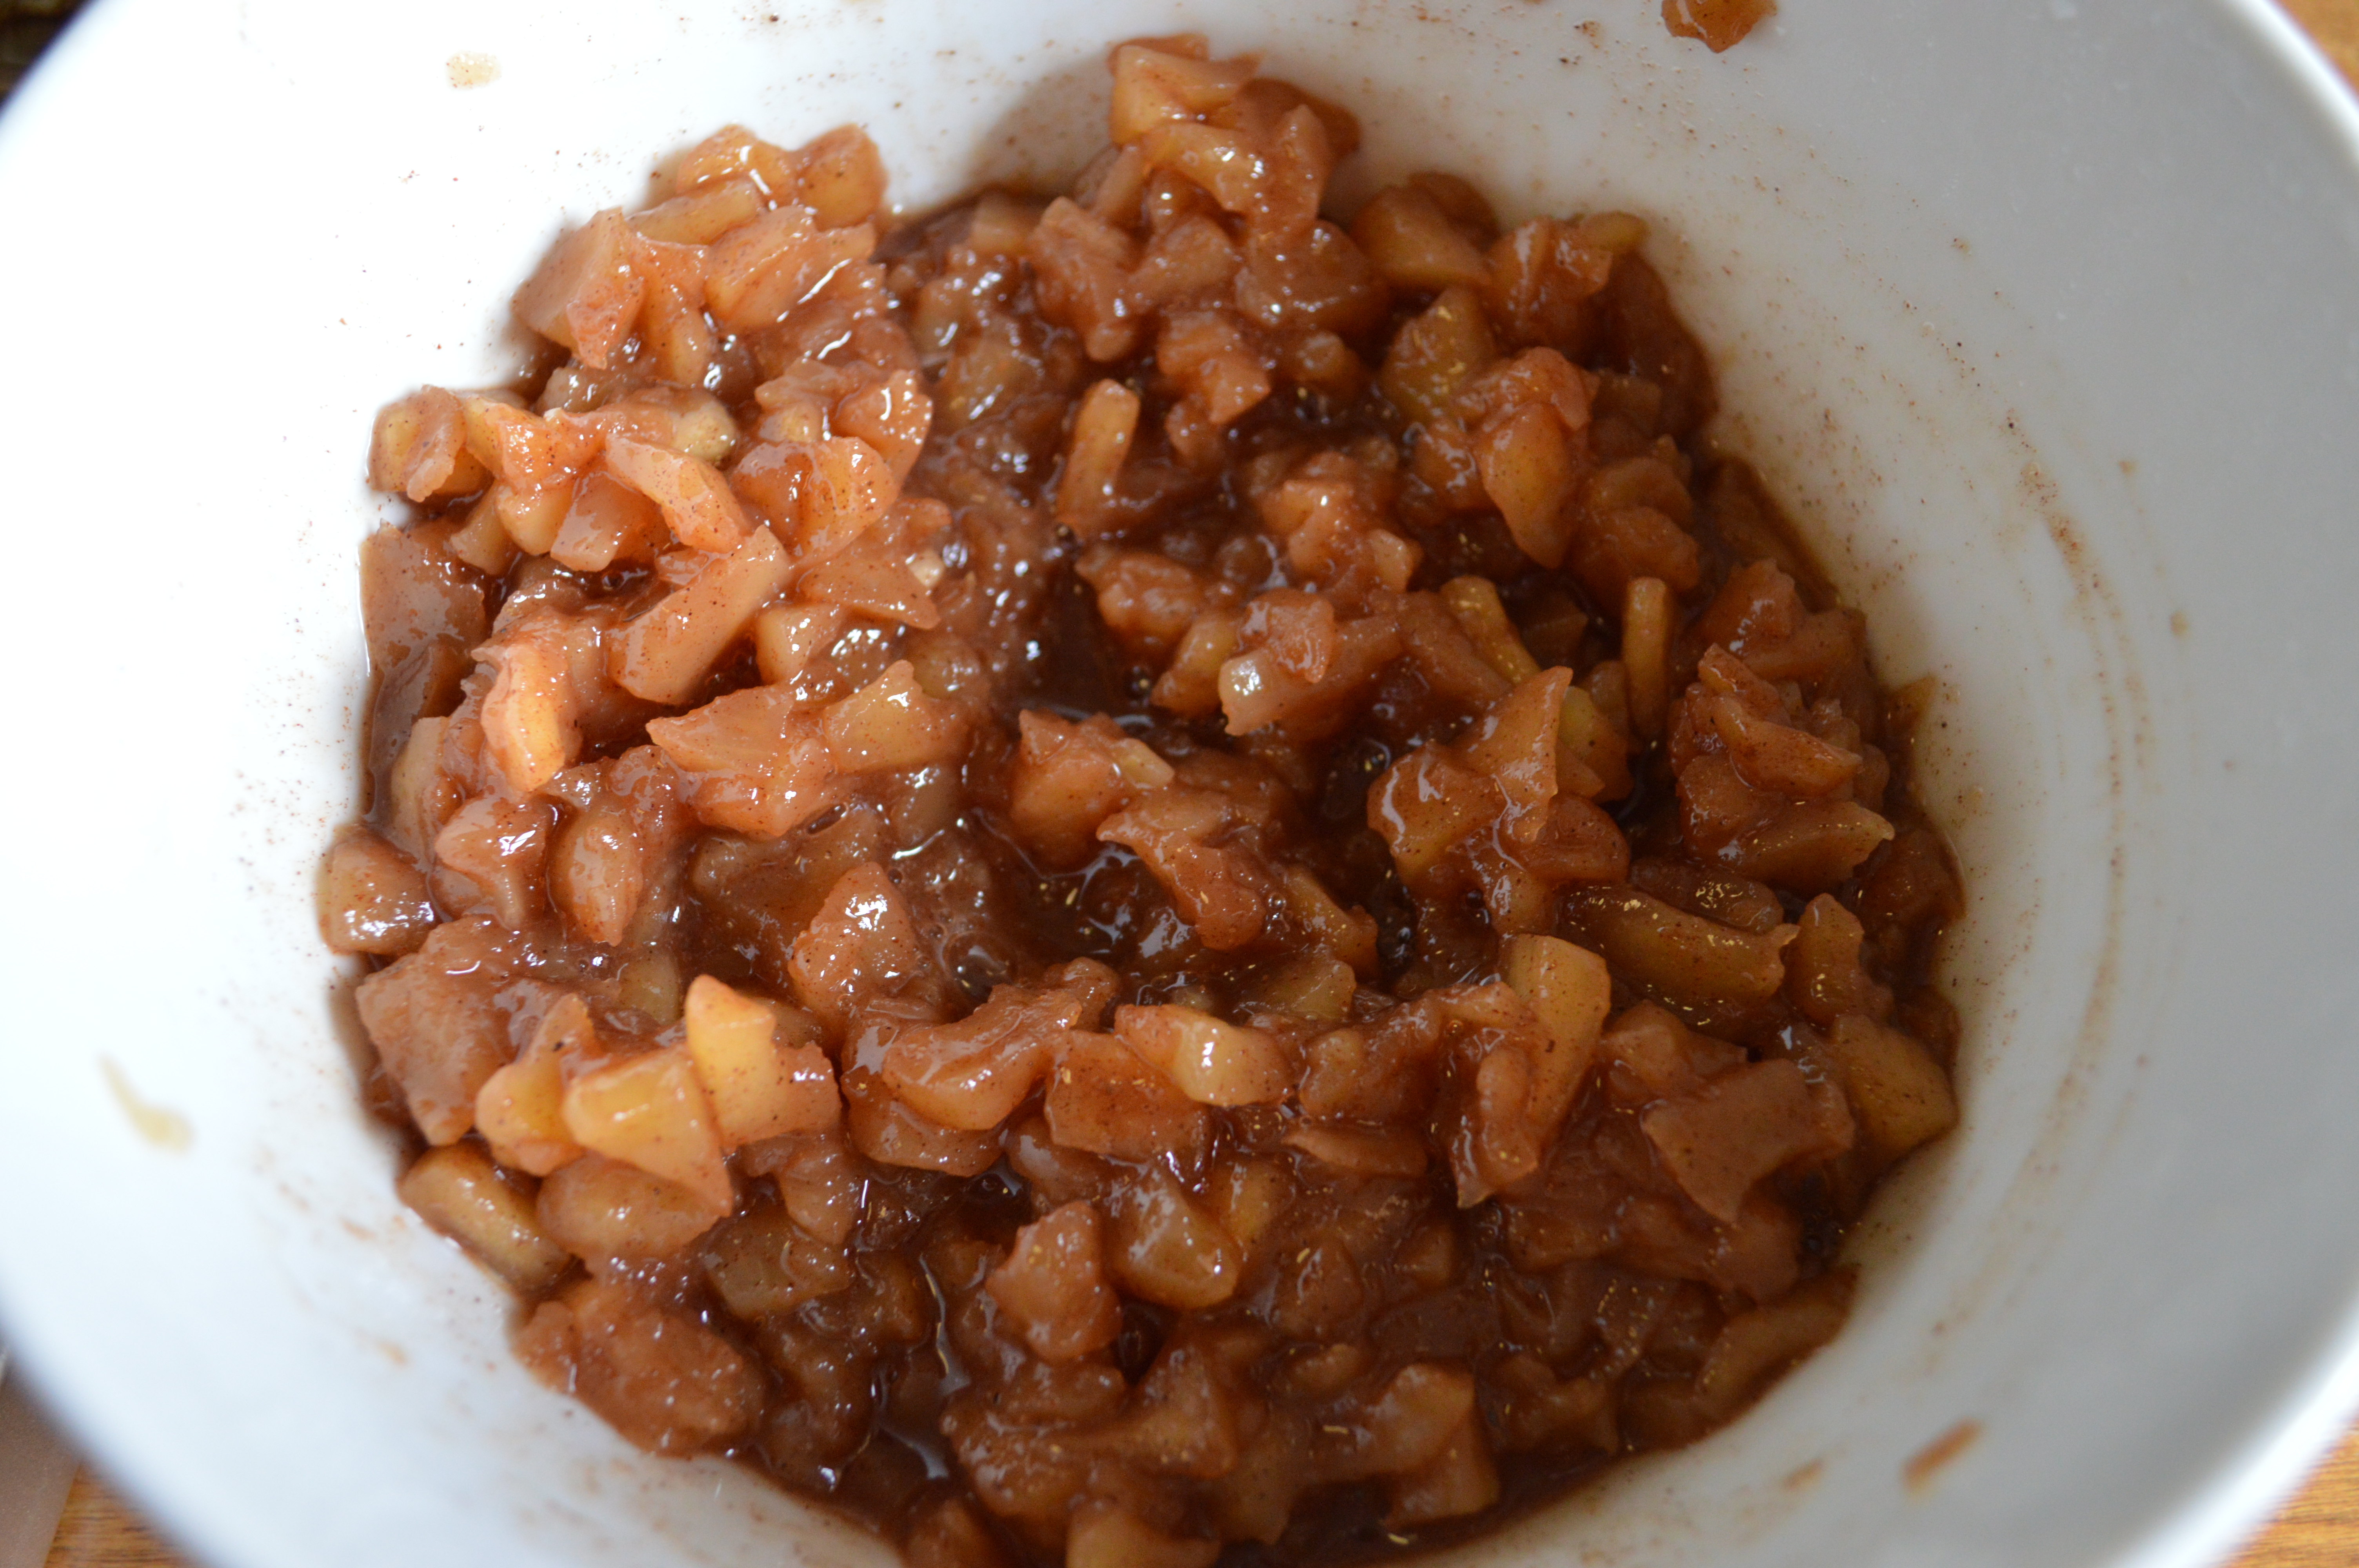
Peel, core and chop apples into small chunks. Combine all ingredients in a pot and simmer for about 45 minutes, or until apples are soft and cooked. I like super small chunks in my apple pie bars so I go through and use a dough cutter to help break them up even further. I also like doing this step the night before. It makes putting it all together tomorrow really easy and then I get to multitask and smell that delicious apple pie smell in my house while I’m working!
Ingredients for Shortbread:
3/4 cup butter (1 1/2 sticks)
1/3 cup sugar
1 1/3 cups flour
Ingredients for Crumb Topping:
1/4 cup butter (1/2 stick)
1/4 cup brown sugar
1/2 cup flour
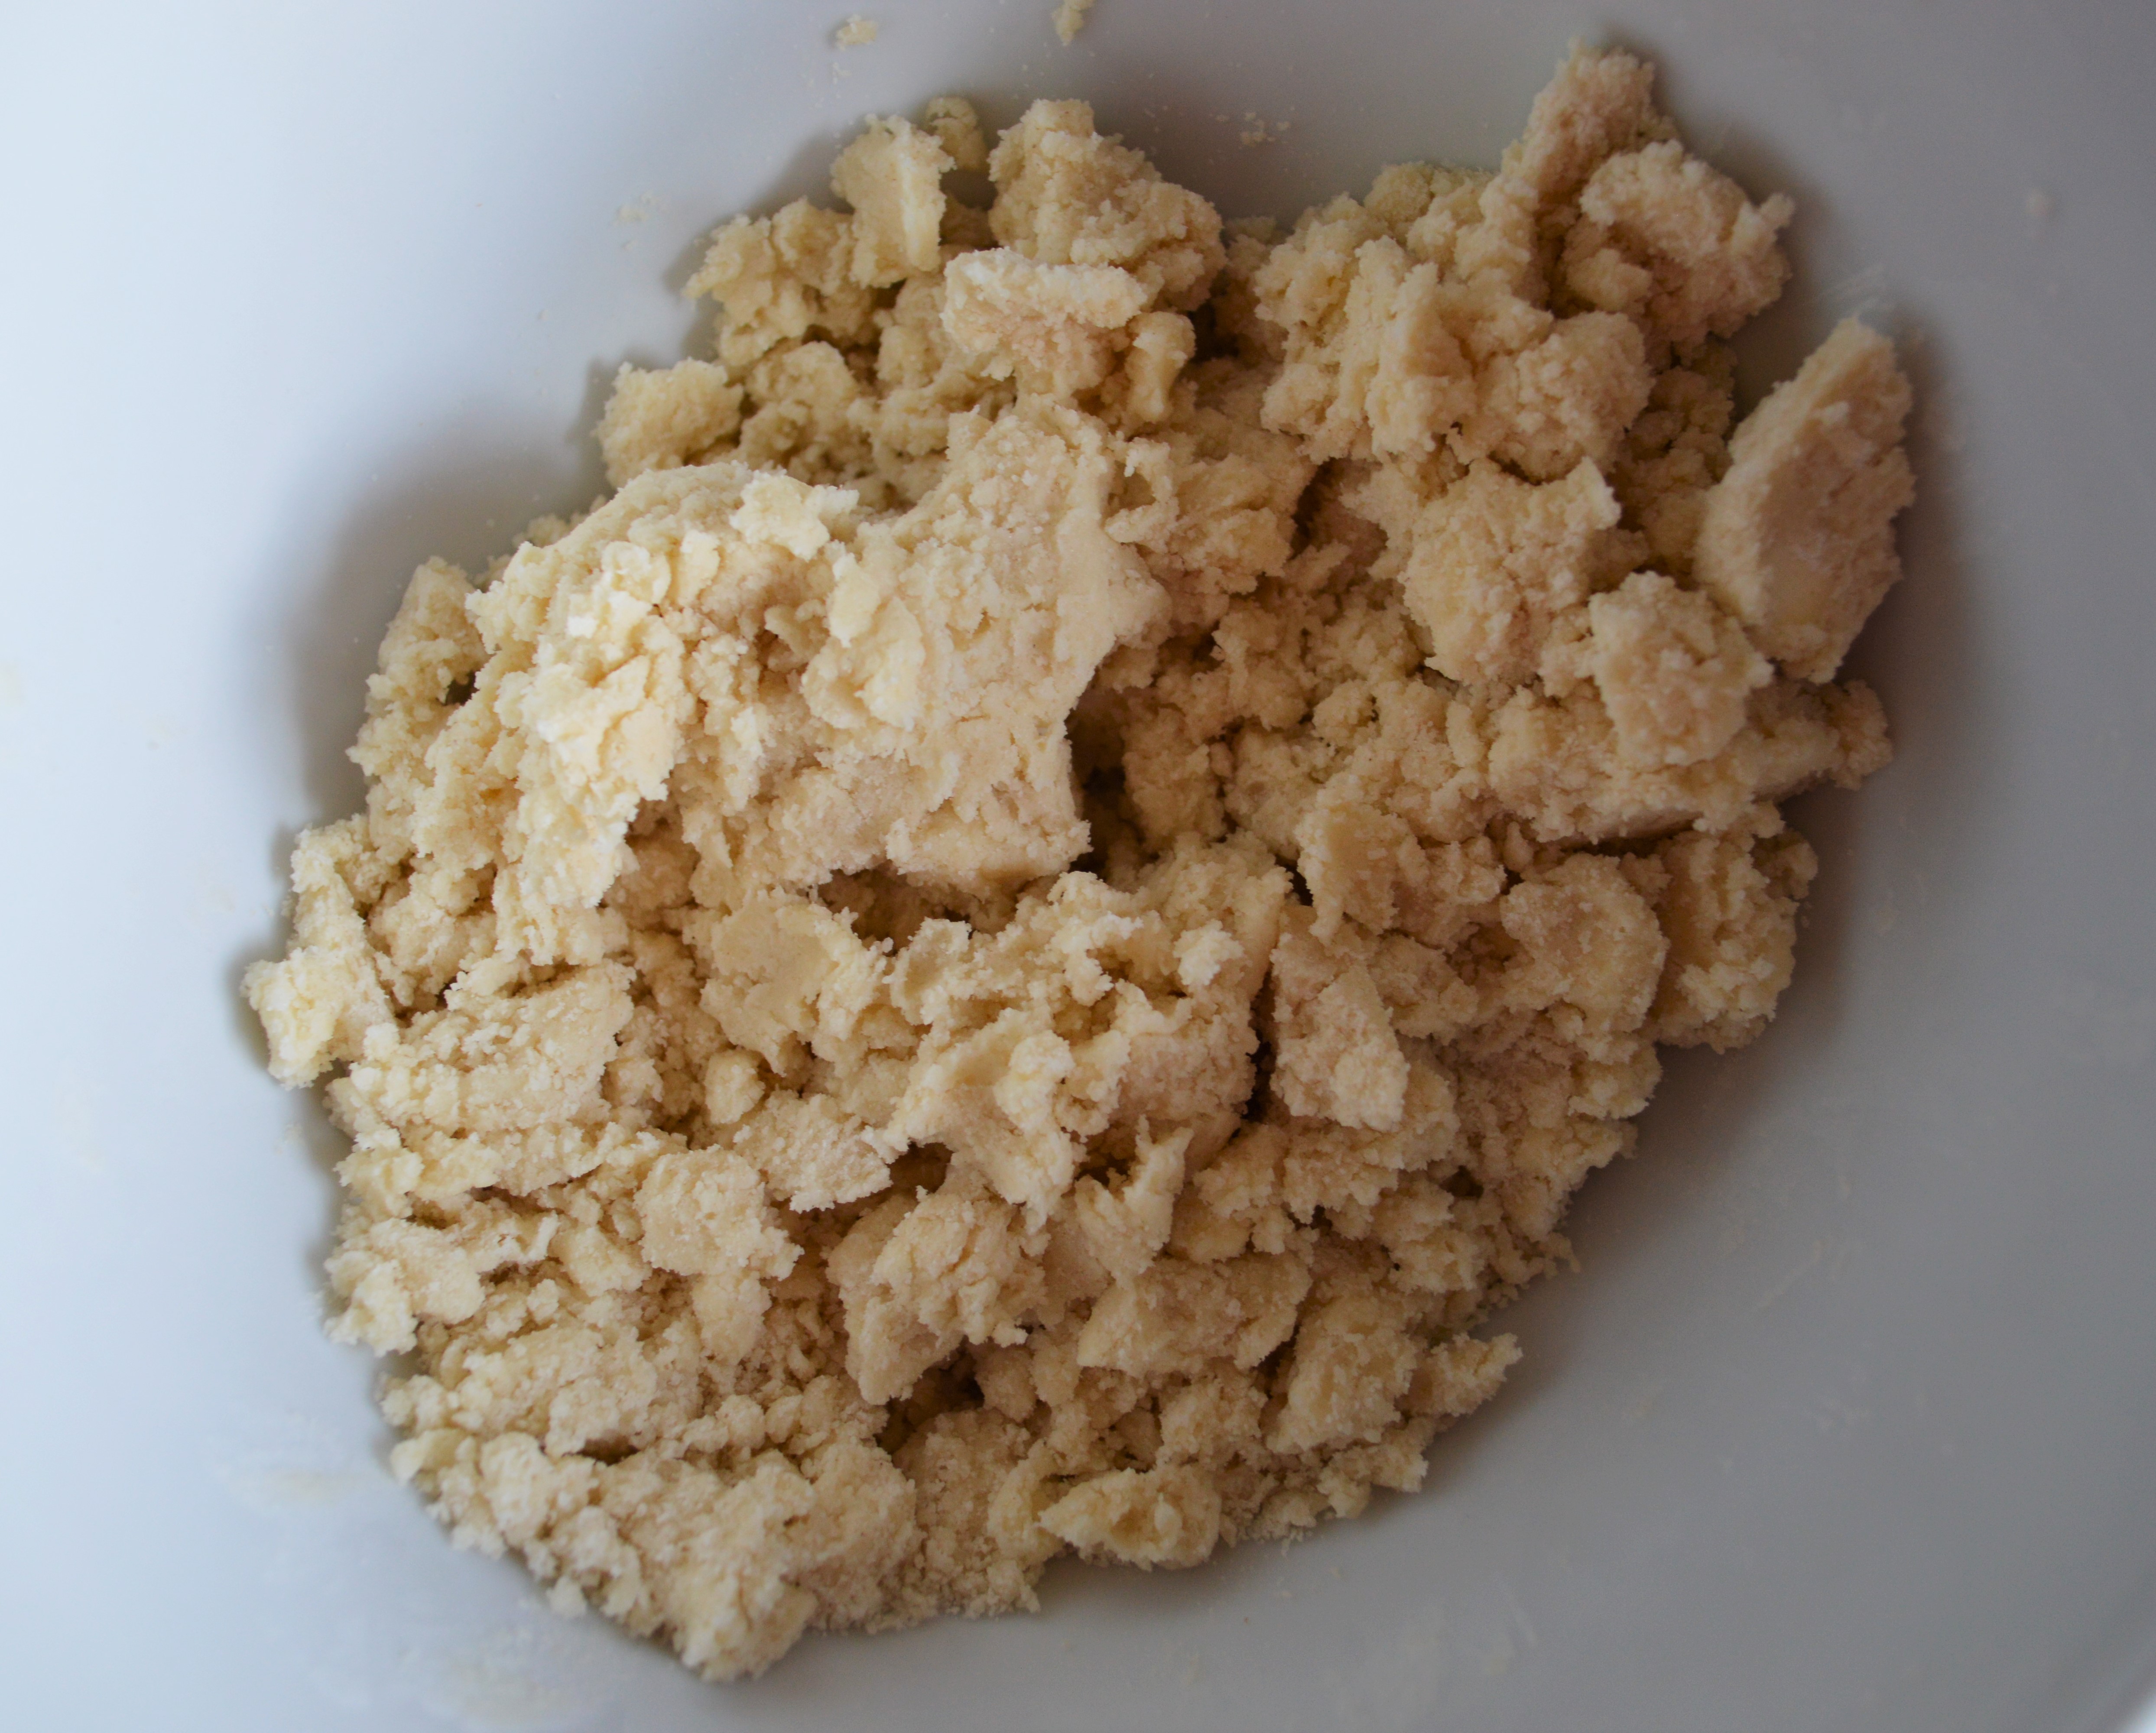
First preheat your oven to 350 degrees. Put all the ingredients for your shortbread crust in a medium sized bowl. Use your dough cutter to mix and blend the ingredients.
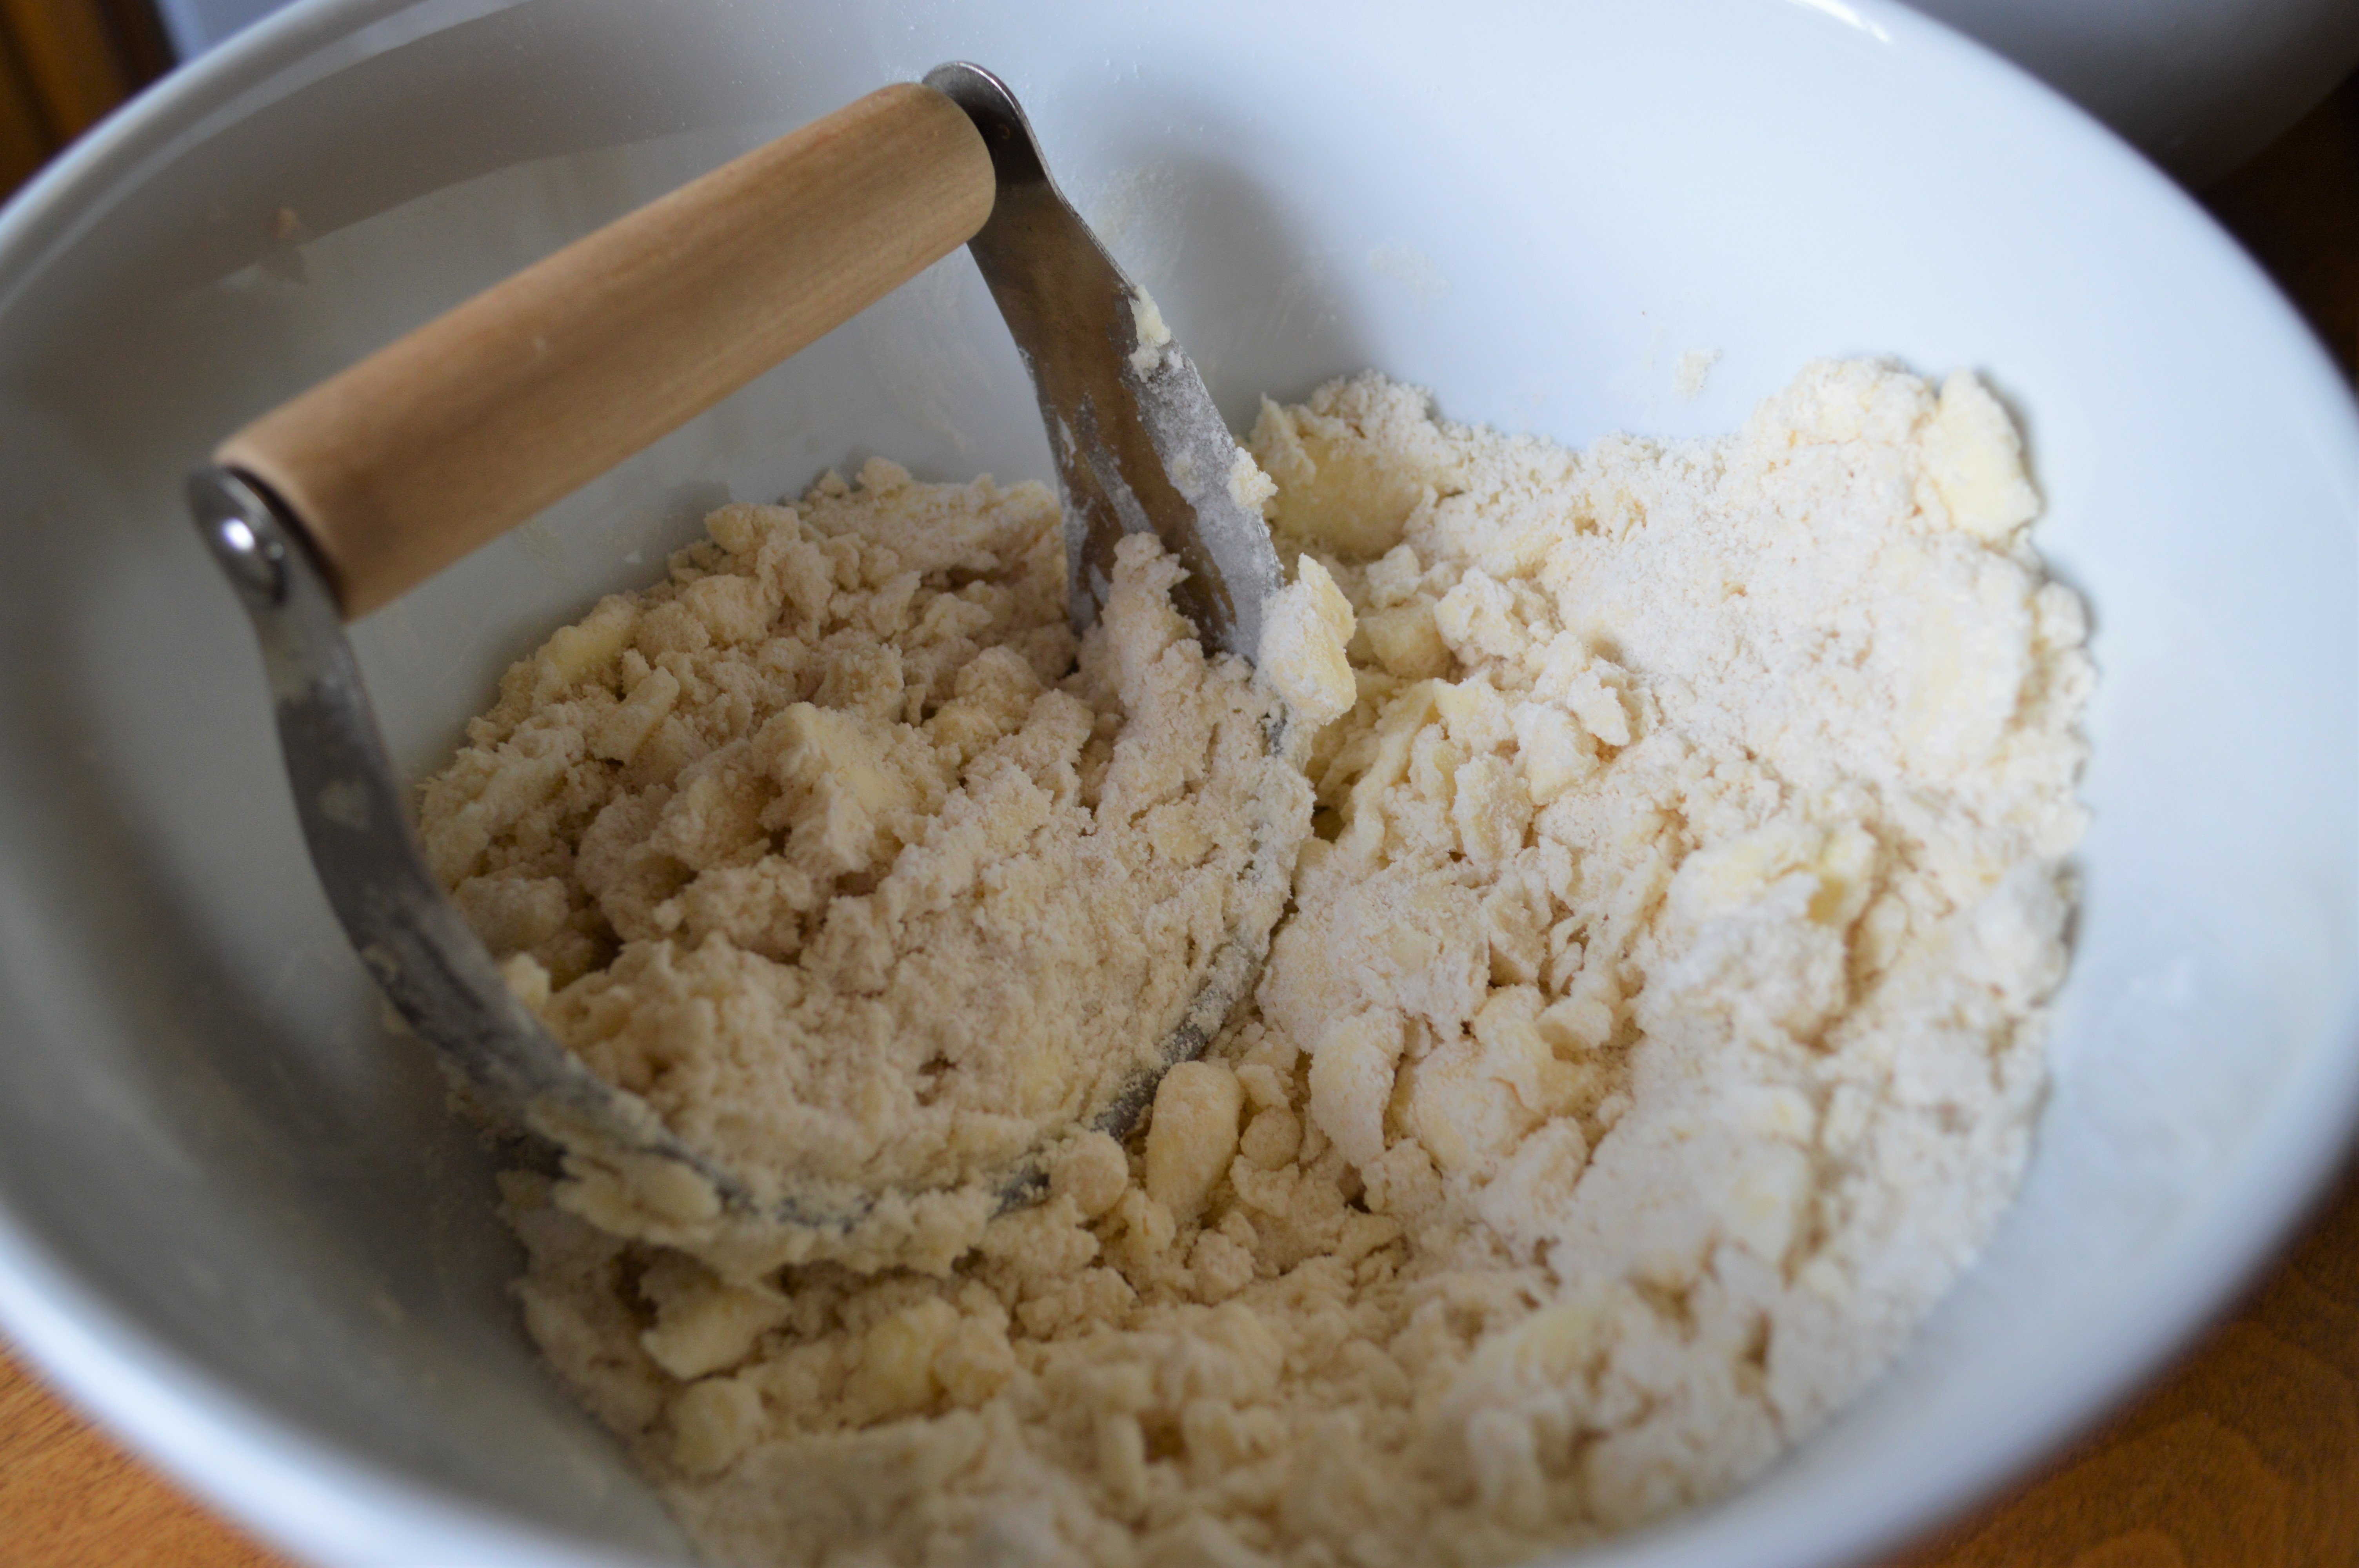
Once you start seeing pea sized chunks of butter, I get right in there and mix with my hands to make sure everything is truly blended.
Press your dough into the bottom of a 9×9 pan.

No need to grease; there is plenty of butter in the shortbread already. Take out your pre-made apple pie filling and pour that evenly over the shortbread.
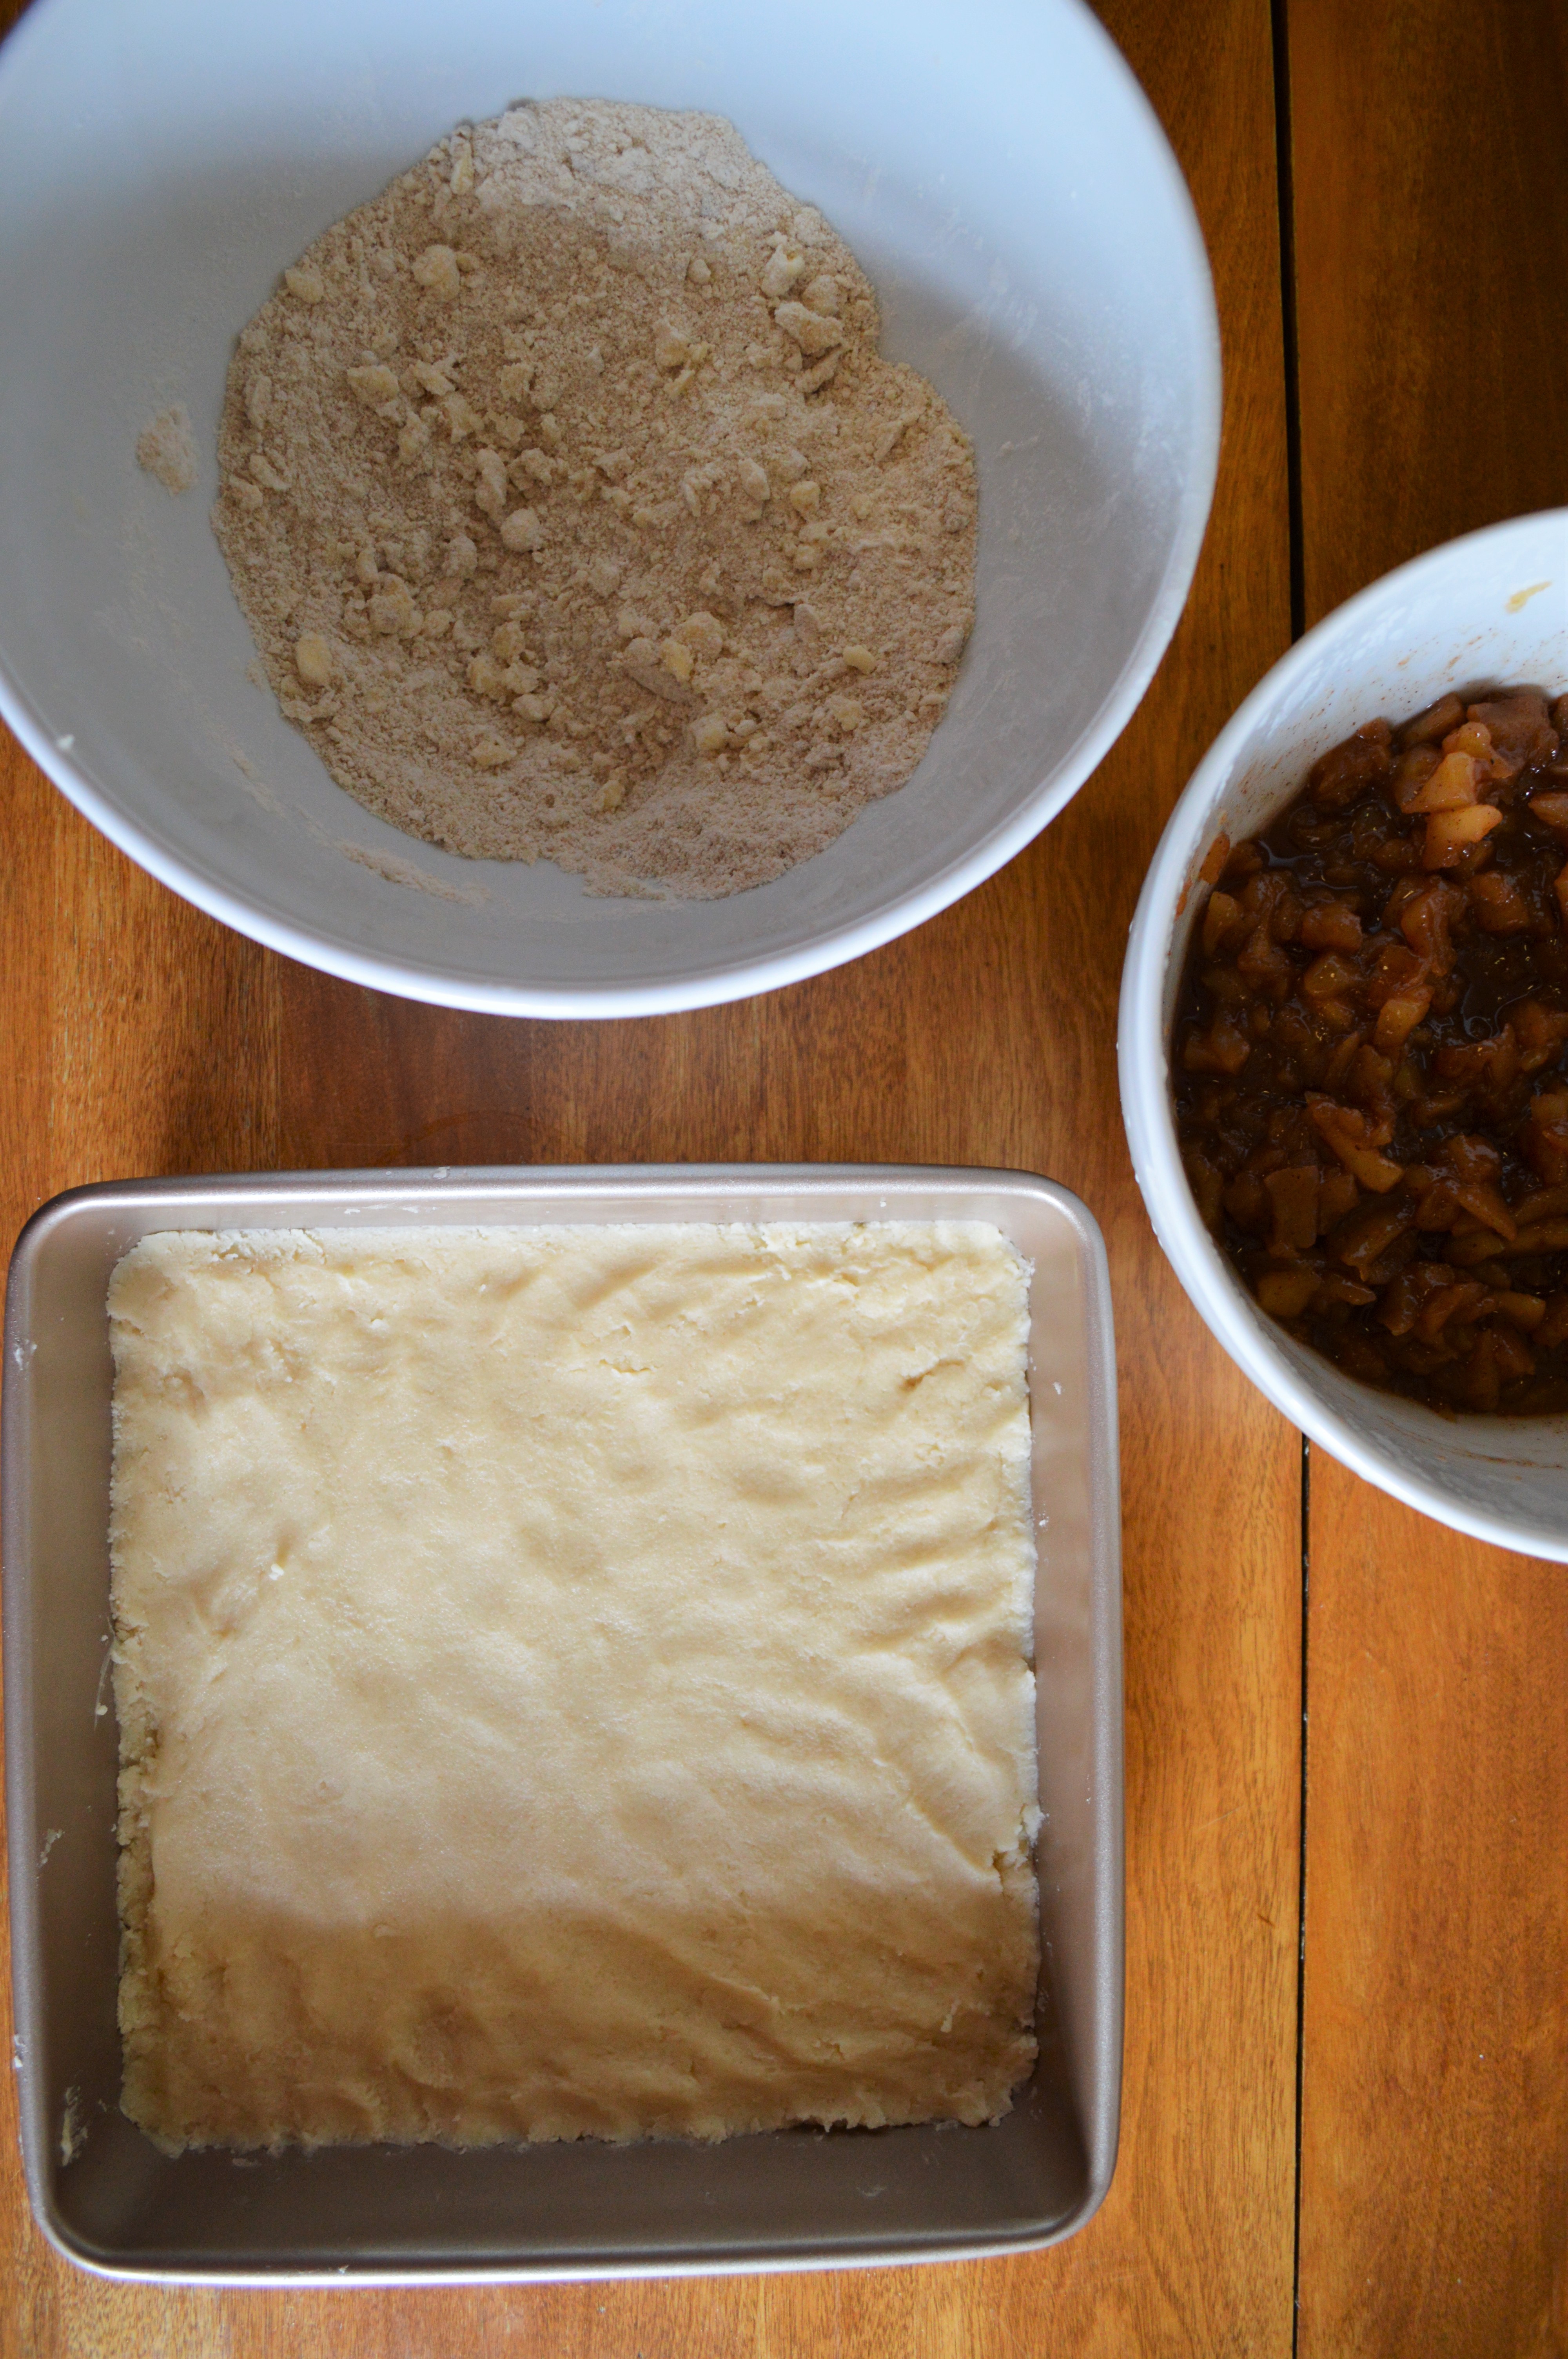
Using the same bowl you used for the dough (I like to save on dishes), mix the ingredients for the crumb topping with your dough cutter, but stop while you still have sizeable chunks of butter left. Evenly sprinkle that on top of the filling.
Bake for 45 minutes at 350. The filling should be bubbling around the edges when you do. Let cool completely before cutting, and better yet, let it sit in the refrigerator for a few hours before cutting. It slices cleaner and sets up better. Cut into 9 squares to remove it from the pan, then I cut each square into quarters. You may think they look small, but these babies pack quite a punch. Those bite sized squares are the perfect size to pick up, and go a long way at a party. And you can then have two or three of them. Or three or four. Or six. I’m not here to judge. 🙂

Everyone has loved these so much that I’m looking to get them in a few places around the neighborhood, so if you aren’t a baker or just don’t feel like making them, you can still get a taste of the season! And as always, I love seeing photos and hearing stories of how your baking adventures went. Tag me on Twitter, Insta or Facebook of your pics! Happy baking!!